VNet Peering is used to create connectivity between two or more Azure virtual networks hosting different resources, and these can be vNets in different resource groups residing in different locations. This communication happens over the Microsoft backbone network and hence doesn’t traverse over the Internet.
To create VNet-to-VNet connectivity, these are some of the considerations.
- The address space of both VNets should not be overlapping. In my example am using two VNets, one of the private IP range of 10.0.0.0/16 and the other of 172.0.0.0/16.
- Each VNet can have up to a maximum of 100 VNet-to-VNet Connections.
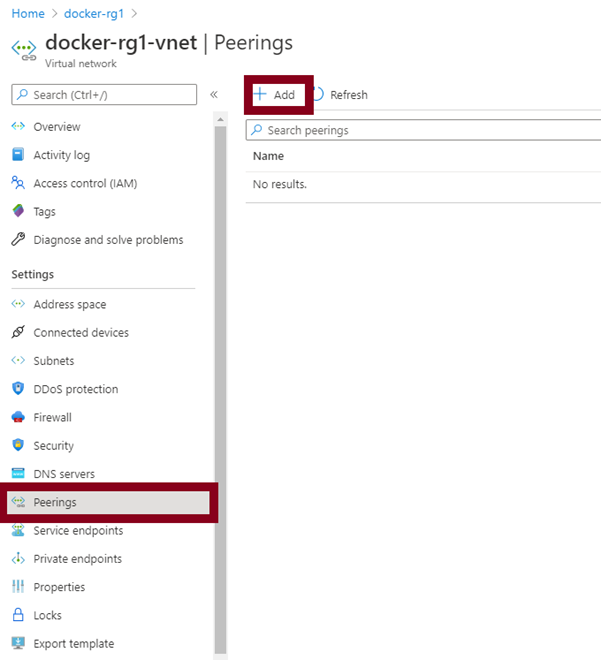
To get started creating VNet connectivity, access your first VNet and click on the peerings section.
Next, create your vNet peerings for both vNets in one place.
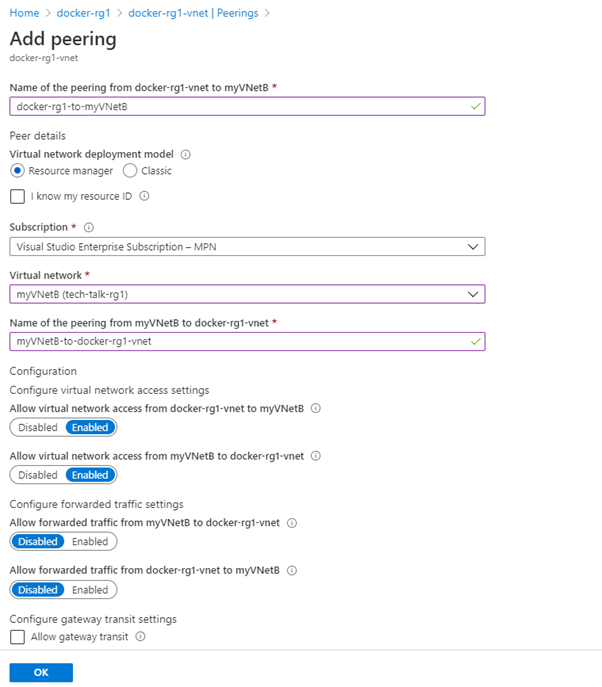
We leave the options for forwarded traffic disabled and Gateway transit settings un-checked. Forwarded traffic is suited for hub and spoke vNets (shared services between vNets, e.g., domain controller).
Gateway transit is useful, especially when working with Site-to-Site VPN in a scenario that we want more than one vNet to share the gateway.
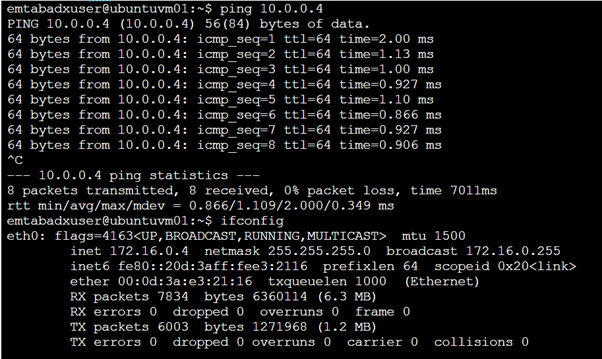
To confirm that the vNet peering has worked. I will ping one of my VMs in the docker-rg1-vNet with a private IP address of 10.0.0.4. My ping origin is from a Virtual Machine in myvNetB and has a private IP address of 172.16.0.4.