A Microsoft Azure storage account allows you to work with storage most robustly and securely. You can create new containers, file shares, queues for messaging, and database tables.
To get started, you need to download the latest build of the Azure storage explorer from Microsoft using the link below:
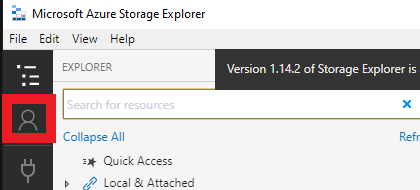
After Installing the tool, click on the button shown to login to your Microsoft Azure account.
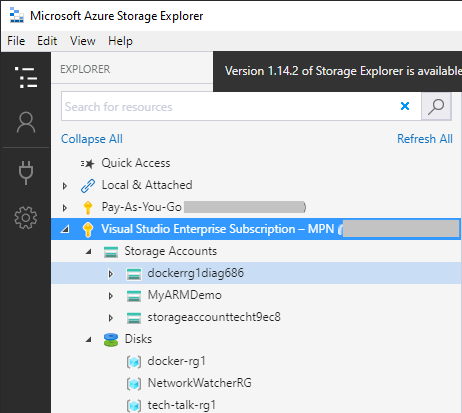
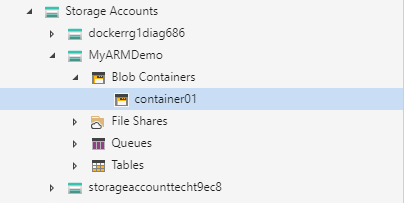
When you are logged in, you can access the different storage accounts under your subscription and create new containers, file shares, etc. In this example, I will create a new container and name it"container01".
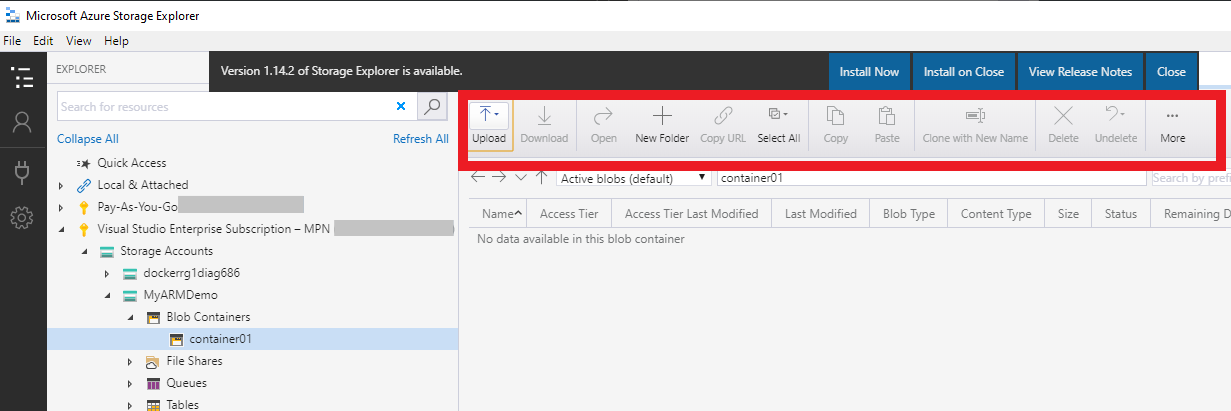
We can also use the different functions shown below to work with our container or data inside the container.
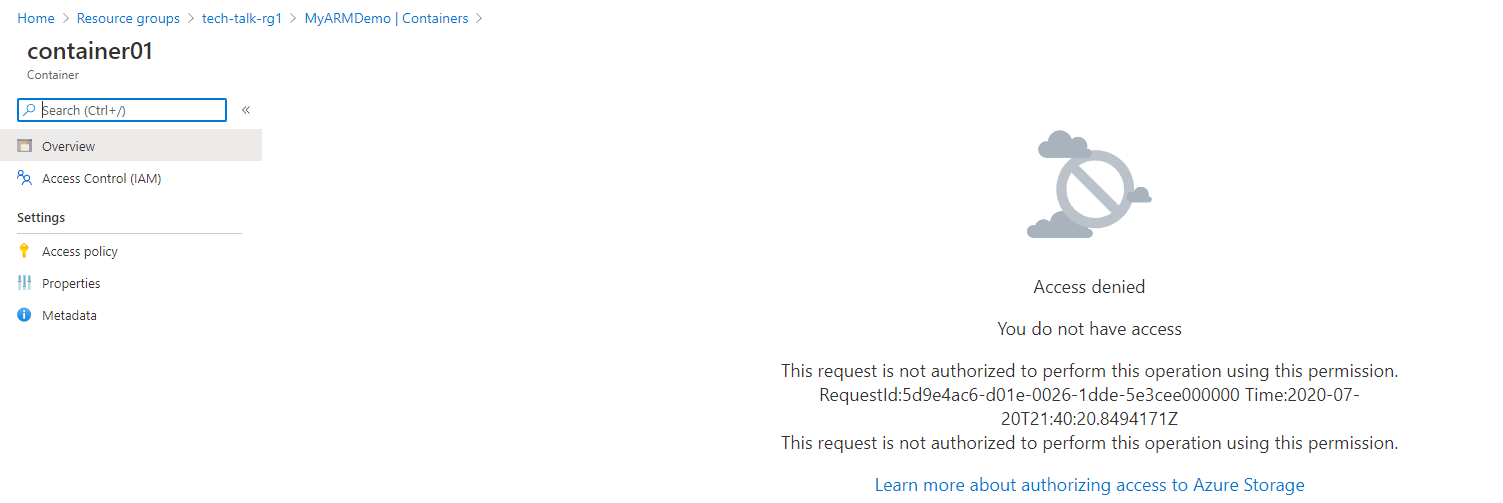
One of the cool features of working with Azure storage accounts is creating shared access signatures that allow you to work with the given storage account resources at a set level of access. Such as read-only, read-write, and a given time period with which you can work with the storage account. Everything that is created or modified here is also effected in the Azure portal.
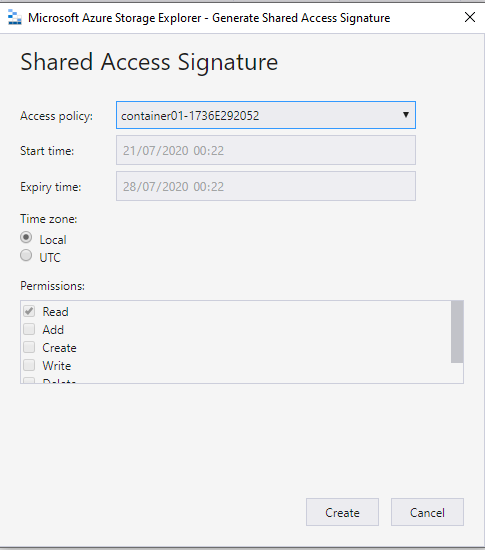
For example, I generated a new shared access signature that allows me to only read and list a container in the storage account hence getting the error below when I try to access the container's contents.